# Burpsuite
## Configuration
### Pre-Configured Browser
To use the tools as web proxies, we must configure our browser proxy settings to use them as the proxy or use the pre-configured browser. Both tools have a pre-configured browser that comes with pre-configured proxy settings and the CA certificates pre-installed, making starting a web penetration test very quick and easy.
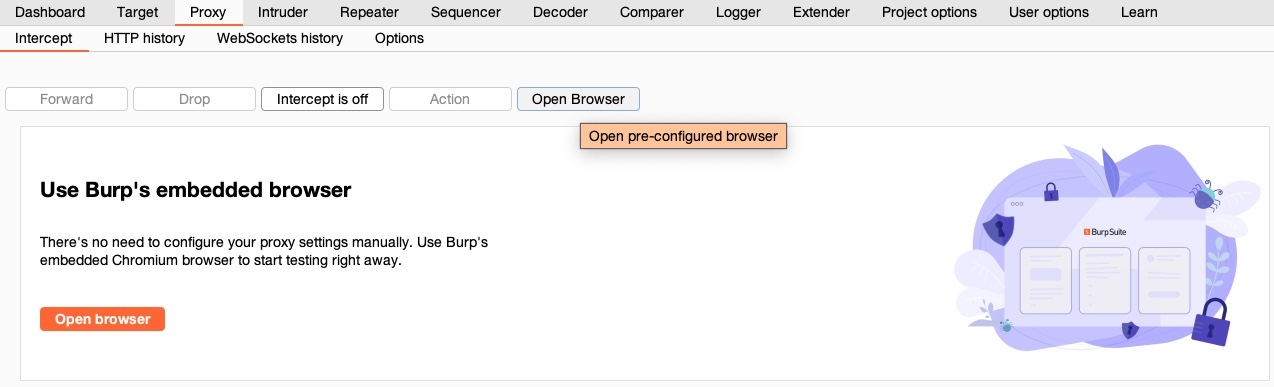
In Burp's (`Proxy>Intercept`), we can click on `Open Browser`, which will open Burp's pre-configured browser, and automatically route all web traffic through Burp:
***
### Proxy Setup
In many cases, we may want to use a real browser for pentesting, like Firefox. To use Firefox with our web proxy tools, we must first configure it to use them as the proxy. We can manually go to Firefox preferences and set up the proxy to use the web proxy listening port. Both Burp and ZAP use port `8080` by default, but we can use any available port. If we choose a port that is in use, the proxy will fail to start, and we will receive an error message.
Note: In case we wanted to serve the web proxy on a different port, we can do that in Burp under (`Proxy>Options`), or in ZAP under (`Tools>Options>Local Proxies`). In both cases, we must ensure that the proxy configured in Firefox uses the same port.
Instead of manually switching the proxy, we can utilize the Firefox extension [Foxy Proxy](https://addons.mozilla.org/en-US/firefox/addon/foxyproxy-standard/) to easily and quickly change the Firefox proxy. This extension is pre-installed in your PwnBox instance and can be installed to your own Firefox browser by visiting the [Firefox Extensions Page](https://addons.mozilla.org/en-US/firefox/addon/foxyproxy-standard/) and clicking `Add to Firefox` to install it.
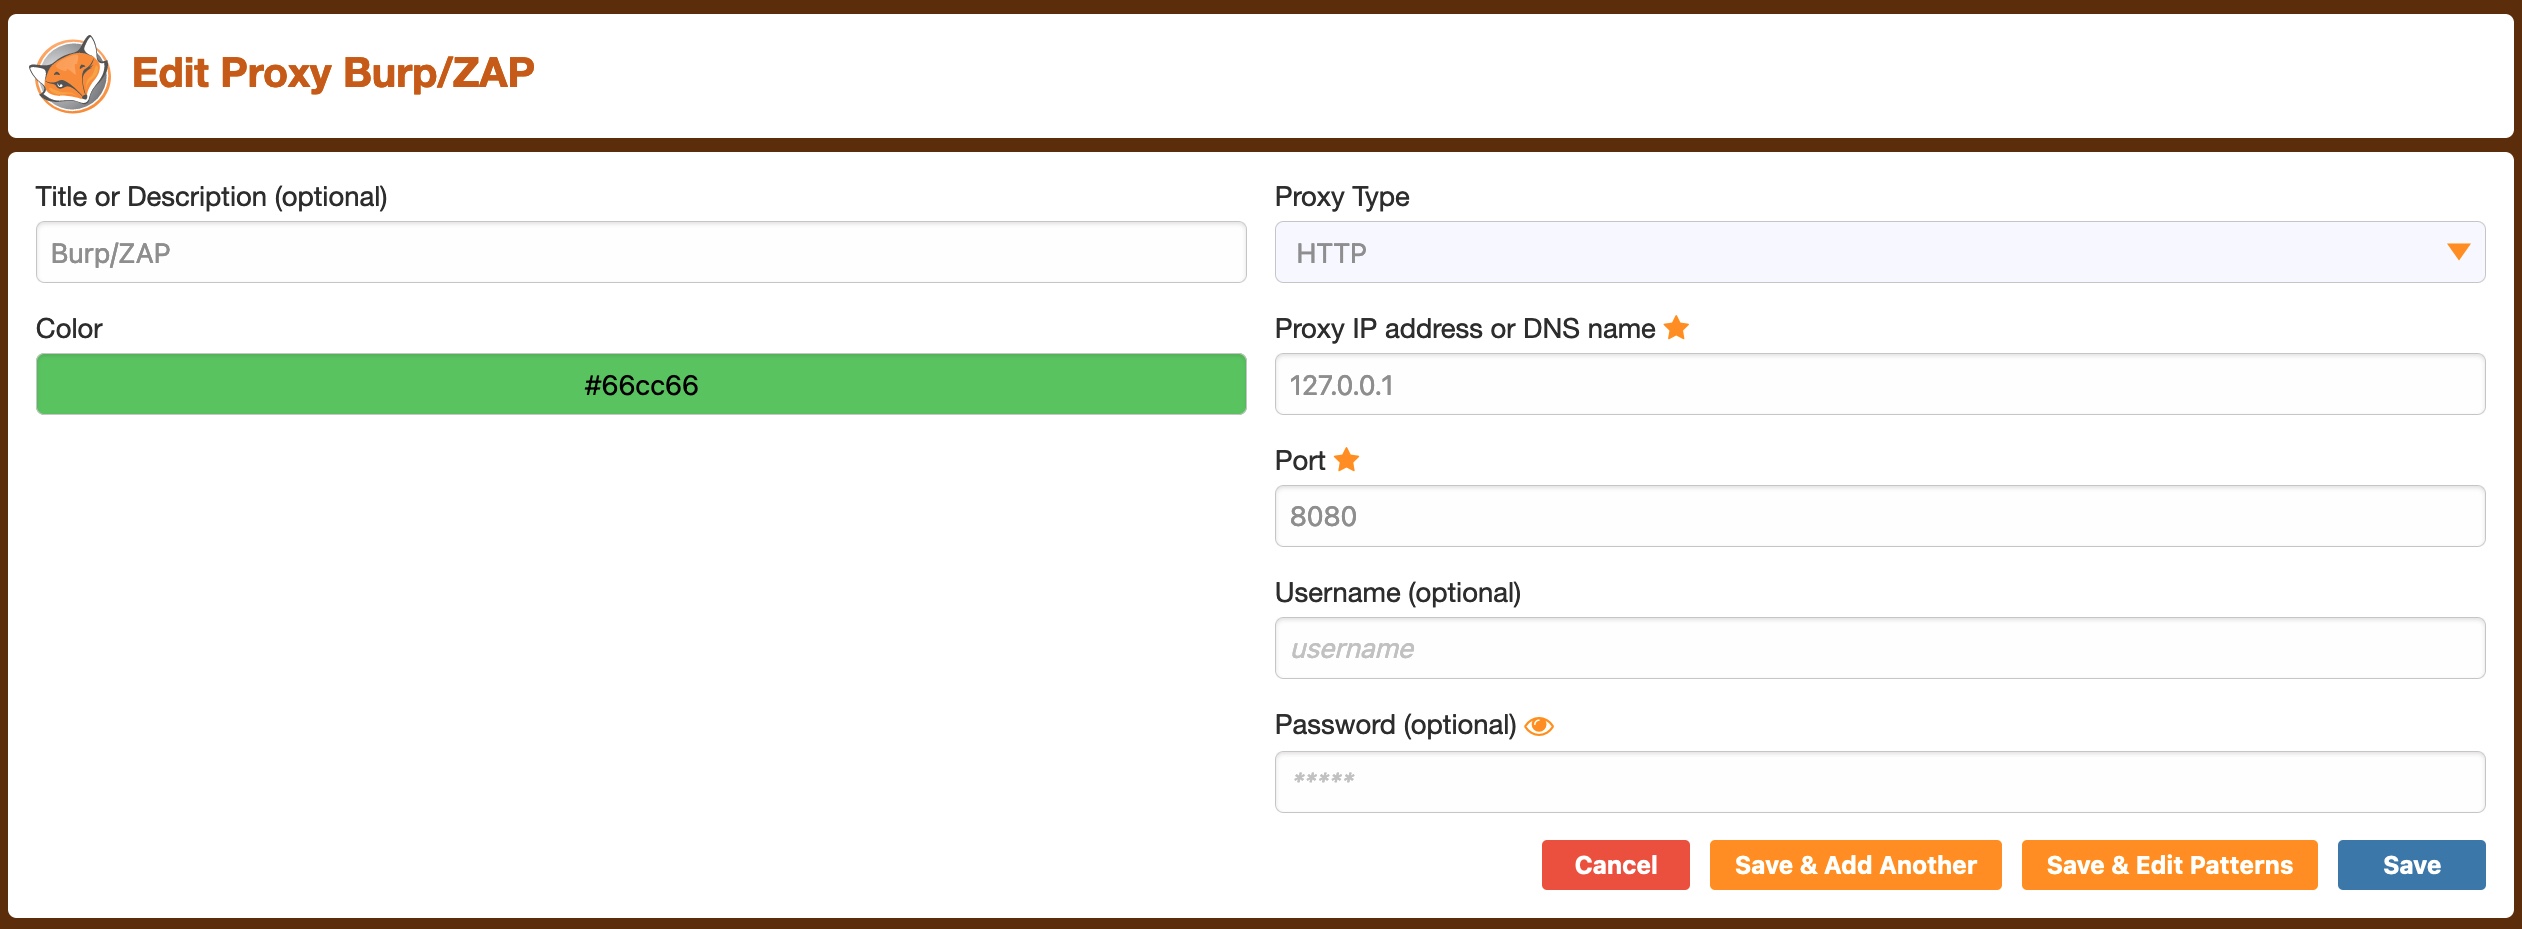
Once we have the extension added, we can configure the web proxy on it by clicking on its icon on Firefox top bar and then choosing `options`:
Once we're on the `options` page, we can click on `add` on the left pane, and then use `127.0.0.1` as the IP, and `8080` as the port, and name it `Burp` or `ZAP`:
Note: This configuration is already added to Foxy Proxy in PwnBox, so you don't have to do this step if you are using PwnBox.
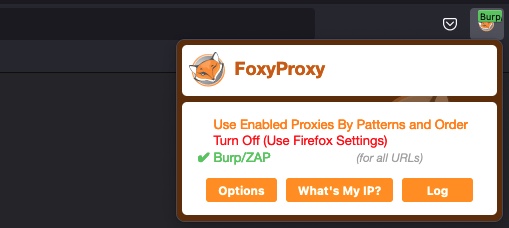
Finally, we can click on the `Foxy Proxy` icon and select `Burp`.
***
### Installing CA Certificate
Another important step when using Burp Proxy/ZAP with our browser is to install the web proxy's CA Certificates. If we don't do this step, some HTTPS traffic may not get properly routed, or we may need to click `accept` every time Firefox needs to send an HTTPS request.
We can install Burp's certificate once we select Burp as our proxy in `Foxy Proxy`, by browsing to `http://burp`, and download the certificate from there by clicking on `CA Certificate`:
We can also change our certificate by generating a new one with the `Generate` button.
Once we have our certificates, we can install them within Firefox by browsing to , scrolling to the bottom, and clicking `View Certificates`:

After that, we can select the `Authorities` tab, and then click on `import`, and select the downloaded CA certificate:
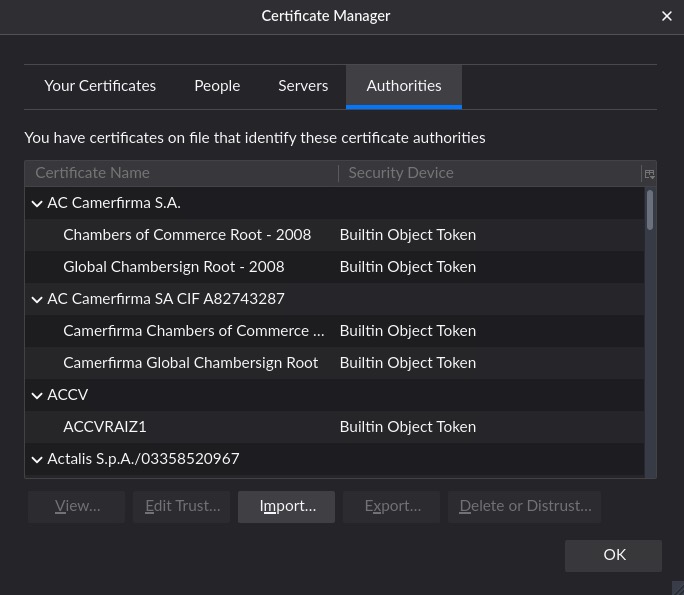
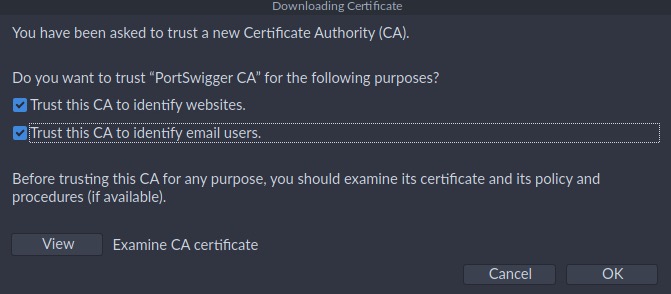
Finally, we must select `Trust this CA to identify websites` and `Trust this CA to identify email users`, and then click OK:
Once we install the certificate and configure the Firefox proxy, all Firefox web traffic will start routing through our web proxy.
---
# Agent Instructions: Querying This Documentation
If you need additional information that is not directly available in this page, you can query the documentation dynamically by asking a question.
Perform an HTTP GET request on the current page URL with the `ask` query parameter:
```
GET https://eldeim.gitbook.io/brain_fuck/notes/others/tools/burpsuite.md?ask=
```
The question should be specific, self-contained, and written in natural language.
The response will contain a direct answer to the question and relevant excerpts and sources from the documentation.
Use this mechanism when the answer is not explicitly present in the current page, you need clarification or additional context, or you want to retrieve related documentation sections.