# Host software setup
## Android studio
Android Studio is used by Developers to build Android Apps, and also useful if you want to setup local Virtual Devices (Android Virtual Device, called AVD) instead of a Physical Device or Cloud solution.\
\
Download Android Studio from: \
\
If you want to use Android Virtual Devices on your local machine, or \
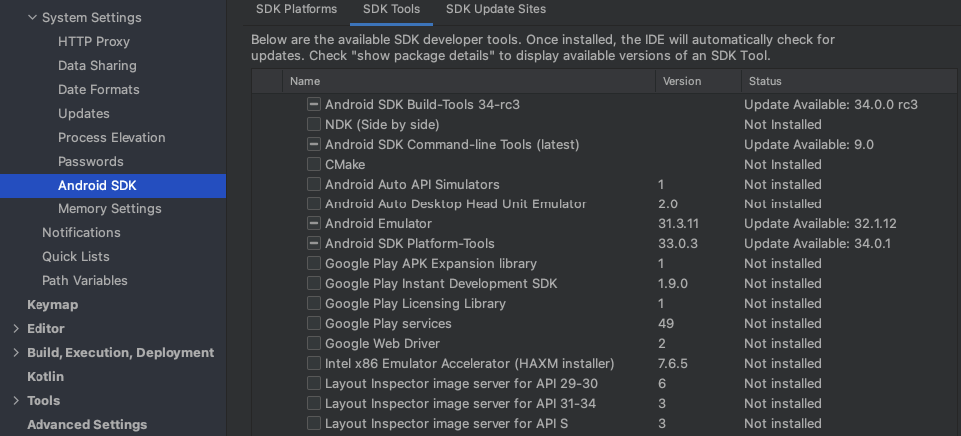
Make sure to install Android SDK build-tools, Android-SDK Platform tools, And Android Emulator.
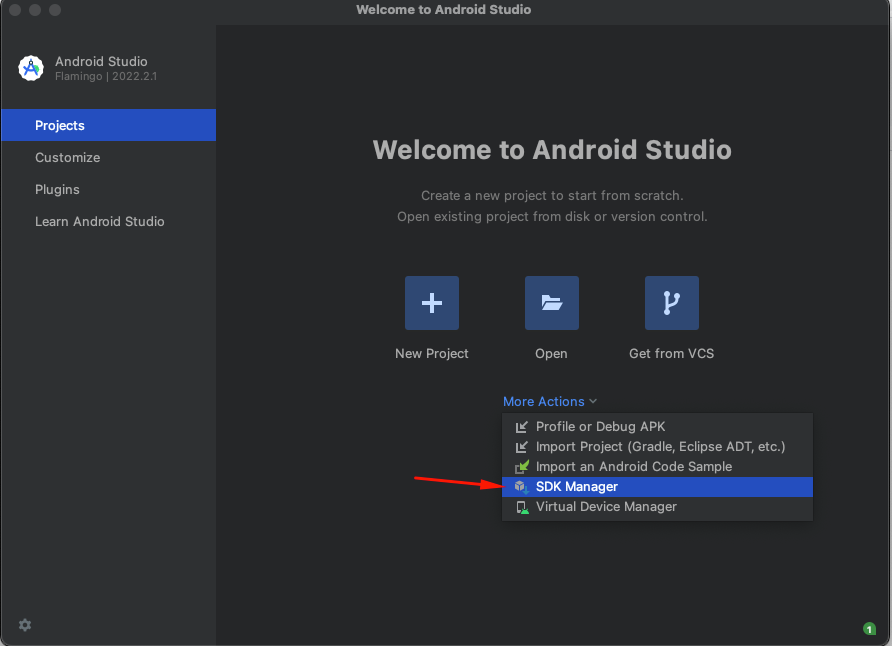
* After you open Android Studio go to more actions -> SDK Manager
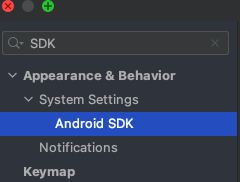
* Search for Android SDK:
* Select the components to install (Android SDK build-tools, Android-SDK Platform tools, And Android Emulator):
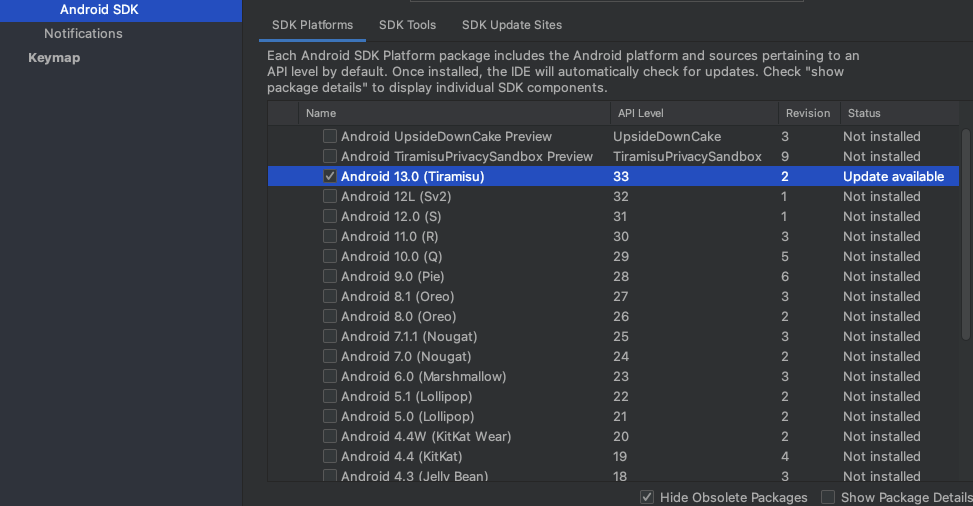
* For the emulator pick a recent Android version to install in the SDK platforms tab
## ADB isolated installation
To use devices provided by Mobile Hacking Lab only ADB (isolated) is needed
### Linux
Execute the commands:
```
sudo apt-get update
```
```
sudo apt-get install android-tools-adb
```
### OSX
Execute the commands:
```
brew cask install android-platform-tools
```
### Windows / all
Download the files from Add the folder to your path environment variable.
***
## Local Android Virtual Device setup
### Create Android Virtual Device (AVD)
1. Download and setup [Android Studio](https://developer.android.com/studio)
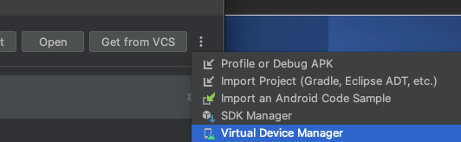
2. Open Android Studio and go to Virtual Device Manager
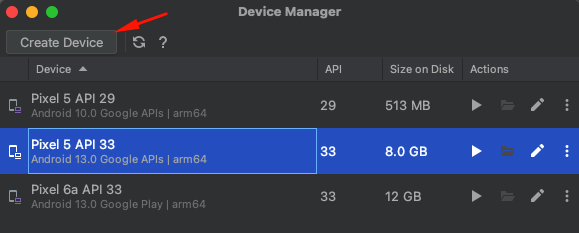
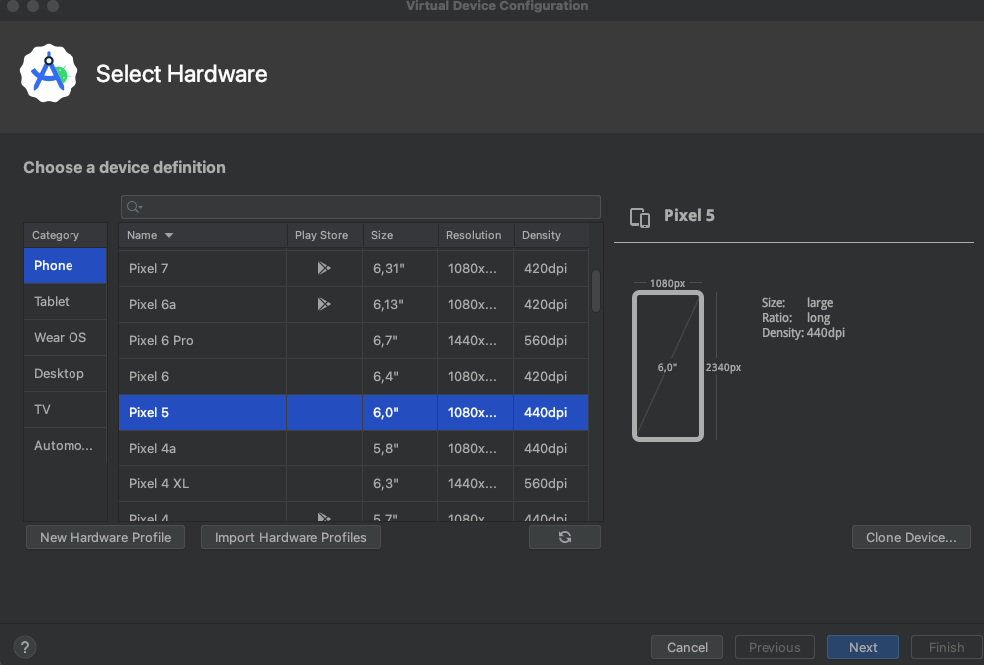
3\. Create a new Device via: Create Device
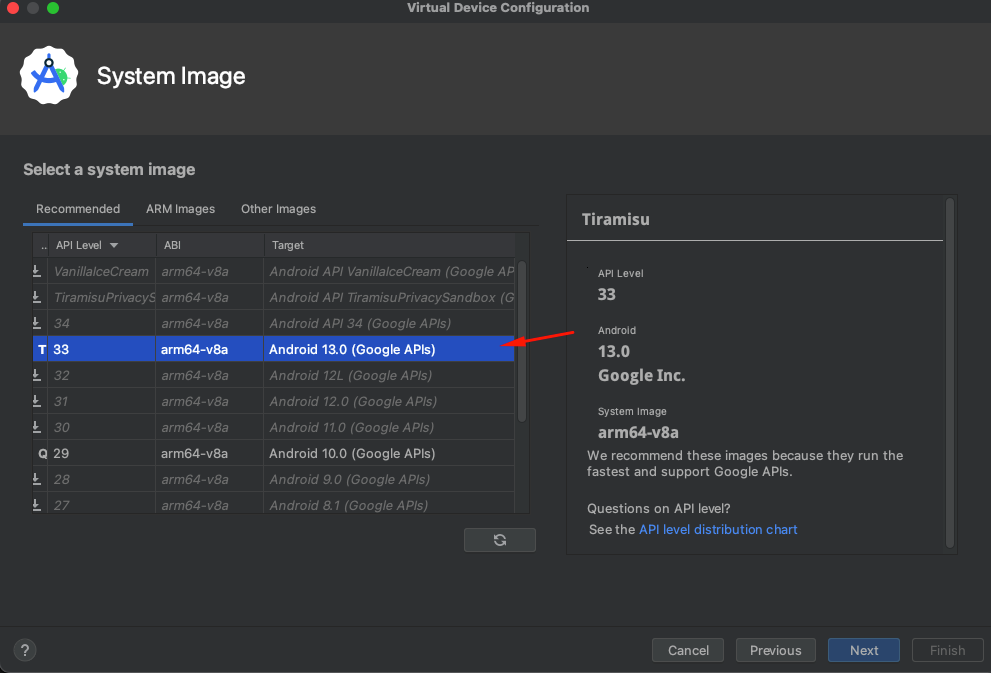
* For example: Pixel 5, with Android 13 (API 33) and Google API's
* > In my case, Pixel 7a with Android 16 (API 36) & Google API's
>
> 
* Use recommended architecture, depending on your hardware. On Mac m1 and higher you can use ARM on Windows this is not recommended.
* > In my case, I add 6gb of ram
---
# Agent Instructions: Querying This Documentation
If you need additional information that is not directly available in this page, you can query the documentation dynamically by asking a question.
Perform an HTTP GET request on the current page URL with the `ask` query parameter:
```
GET https://eldeim.gitbook.io/brain_fuck/notes/certifications/eastereggs/mobile-hacking-lab/capt-android-penetration-tester/android-penetration-tester/host-software-setup.md?ask=
```
The question should be specific, self-contained, and written in natural language.
The response will contain a direct answer to the question and relevant excerpts and sources from the documentation.
Use this mechanism when the answer is not explicitly present in the current page, you need clarification or additional context, or you want to retrieve related documentation sections.
 3\. Create a new Device via: Create Device
* For example: Pixel 5, with Android 13 (API 33) and Google API's
* > In my case, Pixel 7a with Android 16 (API 36) & Google API's
>
> 
* Use recommended architecture, depending on your hardware. On Mac m1 and higher you can use ARM on Windows this is not recommended.
* > In my case, I add 6gb of ram
3\. Create a new Device via: Create Device
* For example: Pixel 5, with Android 13 (API 33) and Google API's
* > In my case, Pixel 7a with Android 16 (API 36) & Google API's
>
> 
* Use recommended architecture, depending on your hardware. On Mac m1 and higher you can use ARM on Windows this is not recommended.
* > In my case, I add 6gb of ram
 ---
# Agent Instructions: Querying This Documentation
If you need additional information that is not directly available in this page, you can query the documentation dynamically by asking a question.
Perform an HTTP GET request on the current page URL with the `ask` query parameter:
```
GET https://eldeim.gitbook.io/brain_fuck/notes/certifications/eastereggs/mobile-hacking-lab/capt-android-penetration-tester/android-penetration-tester/host-software-setup.md?ask=
---
# Agent Instructions: Querying This Documentation
If you need additional information that is not directly available in this page, you can query the documentation dynamically by asking a question.
Perform an HTTP GET request on the current page URL with the `ask` query parameter:
```
GET https://eldeim.gitbook.io/brain_fuck/notes/certifications/eastereggs/mobile-hacking-lab/capt-android-penetration-tester/android-penetration-tester/host-software-setup.md?ask=